Awaiting review. This guide is sourced but has not yet been checked by our reviewer.
How to Make Lip Balm at Home
A classic lip balm is one part beeswax, one part butter (shea or cocoa) and one to two parts liquid oil by weight. Melt them gently, pour into clean tubes and leave to set. The main safety point is to keep the recipe free of flavours and essential oils, because these are common causes of lip irritation and allergy.
Draft, awaiting clinical review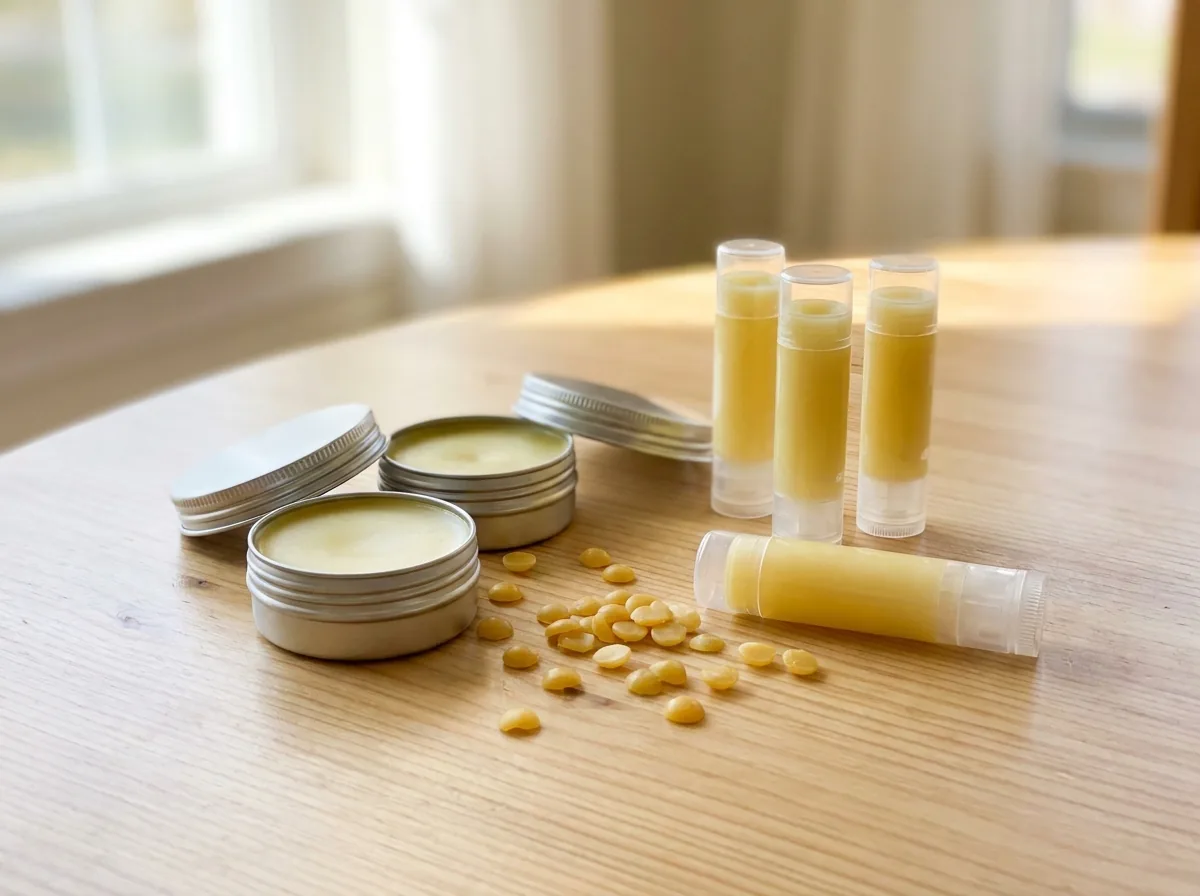
Ingredients
- 8 g (about 2½ tsp) Beeswax pelletsVegan swap: 4 g candelilla wax, which is harder, so use about half
- 8 g (about 2 tsp, packed) Shea butter or cocoa butterCocoa butter gives a firmer, slightly brittle balm and a chocolate scent
- 12 g (about 1 tbsp) Liquid oil: jojoba or coconut oilCoconut oil (melted) works too. Avoid castor oil, a known cause of lip allergy
Equipment
- Digital scale that reads to 1 g (spoons are only approximate)
- Heatproof jug or small glass bowl
- Saucepan for a water bath (bain-marie)
- Clean lip balm tubes or small tins, new or freshly washed and dried
- Small spoon or disposable pipette for pouring
Method
Prepare the containers
Use new tubes or tins, or wash reusable ones in hot soapy water and dry them completely. Stand them upright on a tray or tile so they can be filled quickly.4
Weigh everything
Weigh the wax, butter and oil into the jug: 8 g, 8 g and 12 g. That is roughly 1 part wax to 1 part butter to 1½ parts oil, a widely used starting ratio. Spoon measures are a fallback if you have no scale.
Melt gently
Stand the jug in a saucepan with about 3 cm (1 in) of barely simmering water. Stir now and then until everything is liquid, usually 5 to 10 minutes. Keep water out of the jug.
Test the texture
Dip a cold spoon in and leave it for a minute. If the balm on it is too soft, melt in 1–2 g more wax. If it is too hard, add 1–2 g more oil. Adjust before you pour.
Pour into tubes
Take the jug out of the water with a cloth, dry the base, and pour straight away into the tubes. The mixture starts to set quickly, so work fast and, if it thickens, put it back over the water for a minute.
Let it set
Leave the tubes undisturbed for about 30 minutes. The balm sinks as it cools, so top up each tube with a little reserved liquid if you like. Cap once fully firm.
Patch-test, then use
Test a little on your inner forearm for 24 hours, and again on a small area at the corner of your lips, before using it fully. Stop if you get redness, itching or swelling.2,7
Safety
- Patch-test first. Waxes, castor oil and fragrances have all caused allergic lip reactions, so a new balm can still upset you2,7
- Leave out essential oils and flavours. Cinnamon, mint and peppermint can irritate chapped lips, and cinnamal and cinnamyl alcohol are known fragrance allergens1,3
- Use new or freshly washed containers, not old ones, and wash your hands before dipping into a tin. Dirty packaging and fingers can carry microbes4
- Hot wax and oil can scald. Keep children away, do not leave the pan unattended, and cool a burn under running water for 20 minutes6
- Do not add water, honey or aloe gel. Water-containing products need a proper preservative, and adding water dilutes any preservative present4,5
- If dry lips do not improve after 2 to 3 weeks, or look infected, see a doctor or dermatologist1
Variations
Swap the beeswax for candelilla wax. It is harder, so use about half: 4 g instead of 8 g. Keep the shea or cocoa butter and oil the same. The batch is then about 24 g and fills roughly 5 tubes.
For a firmer balm that suits warm weather or a pocket, add 1–2 g more wax and take the same amount off the oil. A firmer balm glides on less easily.
For a softer, glossier balm for a small tin, cut the wax to 6 g or add 1–2 g more oil. It will melt sooner in a warm bag.
Use cocoa butter in place of shea. The result is firmer, so you may want a little extra oil.
Does it actually work?
Lip balms work mainly by occlusion and softening. Oils and butters soften dry lips, and waxes and thicker ointments seal in water and form a barrier. The American Academy of Dermatology lists shea butter among ingredients that help chapped lips and notes that an ointment such as white petroleum jelly seals in water for longer than waxes or oils, so a homemade balm is a pleasant option but not a stronger one. It does not treat the cause of chapping, such as licking your lips, or an infection or allergy, and we found no evidence that any homemade recipe heals lips faster than a plain, fragrance-free product. It is also not sunscreen, so it gives no protection from the sun. Learn more about the ingredients: beeswax, shea butter, cocoa butter, coconut oil, jojoba oil and candelilla wax.1
Evidence ratings for what goes in: Beeswax, Shea butter, Jojoba oil.
Questions people ask
What is the ratio for homemade lip balm?
A common starting point is 1 part beeswax, 1 part shea or cocoa butter and 1 to 2 parts liquid oil, by weight. This page uses 8 g, 8 g and 12 g, which fills about 6 standard tubes. Use less oil for a firmer balm and more for a softer one.
Can I add essential oils or flavouring to lip balm?
We suggest not. Dermatologists warn that cinnamon, mint and peppermint flavours can irritate chapped lips, and cinnamal and cinnamyl alcohol are recognised fragrance allergens. A plain balm is the safest way to start.
How long does homemade lip balm last?
There is no reliable tested figure for a home recipe. A balm with no water in it is less hospitable to microbes, but it is not sterile, and oils can go rancid. Treat 6 months as a cautious guide and discard it if it smells off or changes colour.
How do I make lip balm without beeswax?
Use candelilla wax, a plant wax. It is harder, so use about half the weight of beeswax, here 4 g in place of 8 g. Firmness varies between products, so test a spoonful before pouring.
Can I use honey or aloe in lip balm?
Not in this recipe. Honey and aloe gel contain water, and water-containing cosmetics need a suitable preservative. Adding them to an oil-and-wax balm can make it a place where microbes can grow.
Sources
- Professional body American Academy of Dermatology. 7 dermatologists' tips for healing dry, chapped lips.
- Systematic review Pal B, et al. Allergic contact dermatitis to lip care cosmetic products - a systematic review. Cutaneous and Ocular Toxicology. 2024.
- Review de Groot AC. Fragrances: Contact Allergy and Other Adverse Effects. Dermatitis. 2020.
- Regulator US Food and Drug Administration. Microbiological Safety and Cosmetics.
- Review Halla N, et al. Cosmetics Preservation: A Review on Present Strategies. Molecules. 2018.
- Public-health body NHS. Burns and scalds.
- Clinical reference DermNet NZ. Contact reactions to lipsticks and other lipcare products.
Educational only. Patch-test anything new on your skin, and stop if it irritates.