Welcome to a world of soap making where you can create beautiful, nourishing soaps without the need for lye. For beginners or those who prefer a safer approach to soap making, the melt and pour method offers a simple and enjoyable way to craft your own homemade soaps using natural ingredients. With a wide range of bases and customizable options, you can create unique soaps that are gentle on your skin and free from harsh chemicals. Let’s explore the art of natural soap making together!
Key Takeaways:
- Create homemade soaps without using lye by utilizing the melt and pour method.
- The melt and pour method involves melting pre-made soap bases and adding your desired ingredients.
- You can customize your soaps with natural colorants, essential oils, herbs, and flowers.
- Choose from a variety of soap bases and ingredients to create unique and skin-friendly soaps.
- Enjoy the benefits of homemade soaps, such as nourished skin and personalized fragrances.
The Role of Lye in Soap Making
In the world of soap making, lye plays a crucial role in the creation of soap from fats and oils. Lye, also known as sodium hydroxide, is a caustic substance that reacts with fats and oils through a process called saponification. This chemical reaction transforms these ingredients into soap, which is then used for various cleansing and skincare purposes.
While lye is an essential component in traditional soap making, it can be intimidating and potentially dangerous to handle, especially for beginners. The good news is that there is an alternative method called the melt and pour technique that allows you to make soap without the need to handle lye directly. This method offers a safer and easier approach to soap making, making it accessible to a wider audience.
“The melt and pour method eliminates the need for handling lye directly, ensuring a safer soap making process for beginners.”
With the melt and pour method, the soap base used already contains lye, which has undergone the saponification process. This means that the lye is chemically converted during the production of the soap base, leaving no lye in the final product. This ensures that you can enjoy the benefits of homemade soap without the potential risks associated with handling lye.
By using pre-made soap bases, you can focus on the creative aspects of soap making, such as adding natural colorants, essential oils, herbs, and flowers to customize your soaps. The melt and pour method not only simplifies the soap making process but also opens up a world of possibilities for personalization and experimentation.
To illustrate the journey of lye in soap making, refer to the diagram below:

Remember, the use of lye in soap making is essential for the successful creation of soap. However, if you’re looking for a lye-free alternative, the melt and pour method allows you to enjoy the art of soap making without the need for direct lye handling.
Introduction to Melt and Pour Soap Making
Melt and pour soap making is a simple and enjoyable method that allows you to create your own customized soaps without the need for lye. With this DIY approach, you can experiment with natural ingredients and unleash your creativity while avoiding the complexities of traditional soap making.
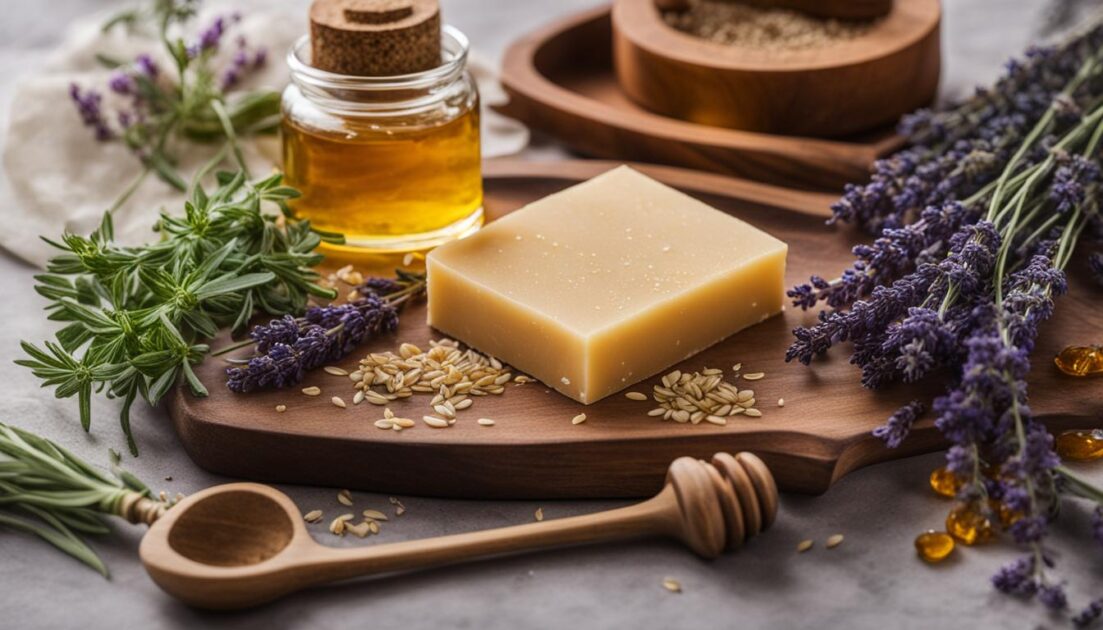
Unlike cold process soap making that requires working with lye, melt and pour soap making utilizes pre-made soap bases that have already undergone the saponification process. These soap bases are readily available and come in various options such as glycerin, goat’s milk, shea butter, and oatmeal, offering different benefits for your skin.

Using the melt and pour method, you start by melting the soap base, either in a microwave-safe glass measuring cup or a double boiler. Once melted, you can add your desired ingredients such as natural colorants, essential oils, herbs, and flowers.
“Melt and pour soap making is a great activity to do with children as it eliminates the need to work with lye, making it safe and enjoyable for everyone involved.”
After thoroughly mixing the ingredients, you pour the soap mixture into molds to harden. As the soap cools and solidifies, it takes the shape of the mold, resulting in beautiful and aesthetically pleasing finished soaps.
The convenience of the melt and pour method makes it accessible to beginners who are new to soap making. It allows you to skip the complexities of handling lye and allows for immediate gratification as you can use and gift your homemade soaps right away, without waiting for them to cure.
Whether you’re an experienced soap maker or new to the craft, melt and pour soap making offers a fun and rewarding way to create your own personalized soaps using natural ingredients. It’s a versatile technique that allows you to experiment with different scents, textures, and designs, providing endless possibilities to express your creativity.
Benefits of Melt and Pour Soap Making:
- No need to handle lye
- Safe and suitable for beginners and children
- Wide range of pre-made soap bases to choose from
- Customizable with natural colorants, essential oils, herbs, and flowers
- Immediate use and gifting
Choosing Soap Base and Ingredients
When it comes to creating your own melt and pour soaps, choosing the right soap base and ingredients is key to achieving the perfect homemade soap without harsh chemicals. With a wide range of options available, you can customize your soap to suit your preferences and desired skincare benefits.
Soap Bases
The soap base forms the foundation of your homemade soap and determines its properties. Here are some popular soap base options:
| Soap Base | Benefits |
|---|---|
| Goat’s Milk Base | Moisturizing, soothing, and gentle on the skin. |
| Shea Butter Base | Rich in vitamins and fatty acids, it nourishes and moisturizes the skin. |
| Glycerin Base | Provides excellent hydration and creates a luxurious, creamy lather. |
| Oatmeal Base | Perfect for sensitive or irritated skin, known for its calming properties. |
These soap bases are made with natural ingredients and provide various benefits, such as moisturization, soothing effects, and a creamy lather. Choose a soap base based on your specific skin needs and preferences.
Additional Ingredients
To take your homemade soap to the next level, consider adding natural ingredients to enhance its properties and aesthetics. Here are some popular options:
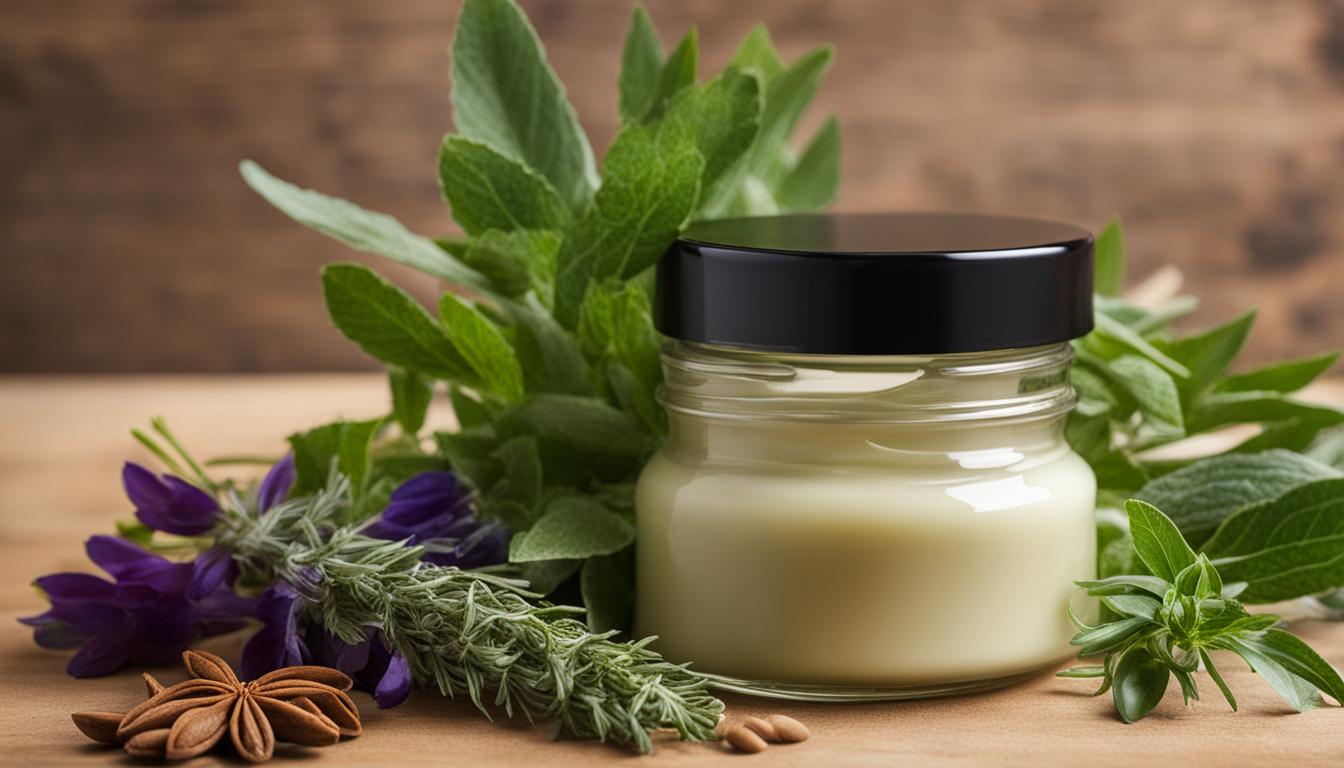
- Dried herbs and flowers: Add aromatic and therapeutic qualities to your soap. Examples include lavender, chamomile, rose petals, and calendula.
- Essential oils: Infuse your soap with delightful scents and therapeutic benefits. Choose high-quality essential oils like lavender, eucalyptus, tea tree, or citrus oils.
- Exfoliants: For a gentle scrub and extra exfoliation, consider adding ingredients like coffee grounds, crushed walnut shells, or oatmeal.
By incorporating these natural ingredients, you can create a custom soap that suits your skin’s needs and leaves you feeling refreshed and pampered.
Remember, when selecting ingredients, opt for those that are organic and sustainably sourced for a more eco-friendly and skin-friendly soap.

With a variety of soap bases and ingredients at your disposal, you can unleash your creativity and craft unique homemade soaps that are free from harsh chemicals and full of natural goodness.
Creating Your Own Soap Recipe
Making your own soap recipe with melt and pour bases allows you to unleash your creativity and experiment with various combinations of ingredients. Whether you want to add luxurious essential oils, natural colorants, or exfoliants, the possibilities are endless. Here’s a step-by-step guide to help you create your unique homemade soap:
- Cut and Melt the Soap Base: Start by cutting the soap base into small cubes, which will help it melt more evenly. Place the soap cubes in a microwave-safe glass measuring cup or a double boiler.
- Melt the Soap: Heat the soap base in the microwave or on the stovetop until it’s completely melted. Stir occasionally to ensure it melts evenly. The soap should have a smooth and creamy consistency.
- Add Your Desired Ingredients: Once the soap base is melted, it’s time to add your desired ingredients. This is where you can get creative!
Adding Natural Colorants and Essential Oils
One of the delightful aspects of making homemade soaps is the ability to customize them with natural colorants and essential oils. These additions not only enhance the aesthetic appeal of your soaps but also impart aromatherapy benefits. Let’s explore the wonderful world of natural colorants and essential oils.
Using Natural Colorants
When it comes to adding color to your melt and pour soaps, there are various natural colorants you can choose from. Some popular options include:
- French Green Clay
- Turmeric
- Madder Root Powder
To ensure an even distribution and prevent clumping, it’s important to dilute these colorants with rubbing alcohol before adding them to the soap base. This preparation step ensures a smooth and professional-looking finish for your soaps.
Adding Essential Oils
Essential oils not only provide delightful fragrances but also offer therapeutic properties. When selecting essential oils for your homemade soaps, it’s crucial to choose high-quality oils and calculate the appropriate usage rate for your recipe. This ensures a well-balanced scent that is not overpowering. Some popular essential oils used in soap making include:
- Lavender
- Peppermint
- Tea Tree

Adding natural colorants and essential oils allows you to create visually appealing and aromatic soaps that cater to your personal preferences. Experiment with different combinations and let your creativity unfold!
| Natural Colorant | Color | Properties/Benefits |
|---|---|---|
| French Green Clay | Green | Detoxifying and purifying properties |
| Turmeric | Yellow | Antioxidant and anti-inflammatory properties |
| Madder Root Powder | Pink/Red | Anti-aging and skin-soothing properties |
Note: The color outcomes may vary depending on the quantity and method of incorporation.
Infusing Herbs and Flowers into Soap Base
Infusing herbs and flowers directly into the soap base can add a natural touch and extra skincare benefits to your melt and pour soaps. By incorporating the essence of botanicals, you can create homemade herbal soaps that promote relaxation, rejuvenation, and overall well-being.
When infusing herbs and flowers into your soap base, consider using fragrant and therapeutic options such as lavender, chamomile, calendula, or plantain. These botanicals not only bring delightful scents but also offer various properties that can benefit the skin.
Here is a simple process to infuse herbs and flowers into your soap base:
- Prepare the herbs or flowers of your choice by gently crushing them to release their essential oils.
- In a heat-resistant container, add the soap base (previously melted) and the crushed herbs or flowers.
- Apply gentle heat, either by placing the container in a double boiler or using short bursts in the microwave. Remember to stir occasionally to ensure even distribution of the infused botanicals.
- After the soap base has absorbed the herbal essence, strain the mixture to remove any solid particles.
- Proceed with the soap making process, pouring the infused soap base into molds and allowing it to solidify.
Infusing herbs and flowers into soap not only enhances the visual appeal but also introduces natural properties that can benefit the skin. Lavender, for instance, is known for its soothing and calming effects, while chamomile can help reduce inflammation and promote gentle cleansing. Calendula brings its healing properties, aiding in skin repair and rejuvenation, while plantain offers moisturizing and soothing benefits.
Benefits of Infusing Herbs and Flowers into Soap
Infusing herbs and flowers into your soap base can provide several advantages:
- Aromatherapeutic Experience: The natural scents of herbs and flowers can uplift your spirits, relax your mind, and provide a soothing experience during your daily bathing ritual.
- Skincare Benefits: Different botanicals offer unique skincare properties, such as moisturizing, cleansing, and soothing effects, ensuring your skin receives the nourishment it deserves.
- Personalization: Infusing herbs and flowers allows you to customize your soap based on your skin’s needs and preferences, creating a personalized self-care product.
Integrating herbs and flowers into your soap-making process enriches the sensory experience while providing natural skincare benefits. From delicate floral notes to herbal scents, your homemade herbal soaps will be a unique expression of your creativity and commitment to using natural ingredients.

| Herbs and Flowers | Skincare Benefits |
|---|---|
| Lavender | Soothing and calming properties; promotes relaxation and stress relief. |
| Chamomile | Reduces inflammation, gentle cleansing, and promotes skin healing. |
| Calendula | Offers healing properties, aids in skin repair and rejuvenation. |
| Plantain | Moisturizes and soothes the skin, leaving it feeling smooth and hydrated. |
Tips and Tricks for Successful Soap Making
To ensure successful soap making, it’s important to follow some tips and tricks. Here are some key recommendations to help you create beautiful and high-quality melt and pour soaps:
- Accurate Measurement: Measure your ingredients accurately using a kitchen scale for precision. This will ensure the ratios are correct, resulting in a balanced and effective soap.
- Thorough Stirring: Stir your soap base and additional ingredients thoroughly to ensure proper mixing. This will help distribute the colorants, essential oils, and other additives evenly throughout the soap.
- Eliminate Air Bubbles: Using a spray bottle filled with rubbing alcohol, lightly mist the soap base before pouring it into the molds. This will help eliminate any air bubbles that may form, giving your soap a smoother appearance.
- Cooling and Hardening: Allow your soaps to cool and harden completely before attempting to unmold them. This will prevent breakage and ensure the soap retains its shape.
If you encounter any issues during the soap making process, here are some common troubleshooting tips:
- Soap Sticking to Molds: To prevent your soap from sticking to the molds, try spraying them with a light coat of cooking spray or rubbing a small amount of coconut oil onto the molds before pouring in the soap base.
- Uneven Color Distribution: If you notice uneven color distribution in your soap, consider using a toothpick or skewer to swirl the colors gently before the soap sets. This will create a marbled effect.
Remember, practice makes perfect! Don’t be discouraged if your first batch doesn’t turn out exactly as expected. Experiment with different techniques, ingredients, and designs to find what works best for you.
For more guidance and inspiration, consult soap making books, online forums, or reach out to experienced soap makers in your community. They can provide valuable insights and personalized advice to help you troubleshoot any challenges that may arise.

Common Soap Making Problems and Solutions
| Problem | Solution |
|---|---|
| Soap sweating or “glycerin dew” | Wrap the soap tightly in plastic wrap or store it in an airtight container to prevent moisture from forming on the surface. |
| Soap crumbling or breaking | Ensure the soap has hardened completely before attempting to unmold. If the soap is still too soft, allow it to cure for a few more days. Additionally, consider adding a small amount of stearic acid to improve the hardness of the soap. |
| Soap fading or discoloration | Avoid exposing your soap to direct sunlight or harsh lighting as it can cause color fading. If using natural colorants, take note of their stability in different soap-making processes and adjust accordingly. |
Enjoying Your Homemade Soaps
Once your homemade soaps have hardened and been unmolded, they are ready to use or gift to others. Homemade soaps make wonderful personal gifts, party favors, or additions to gift baskets. They can be customized to suit different skin types and preferences.
One of the benefits of using homemade soap is the nourishment and moisture it provides to the skin. Unlike commercial soaps that may contain harsh chemicals and synthetic ingredients, homemade soaps are made with natural ingredients that are gentle and beneficial for the skin.
Additionally, homemade soaps offer the pleasure of experiencing natural fragrances derived from essential oils and botanical additives. You can choose scents that uplift your mood, provide relaxation, or promote specific wellness benefits.
Creating your own homemade soaps also brings a sense of satisfaction. It’s a tangible and creative process that allows you to express your personal style and preferences. Whether you prefer vibrant colors, unique shapes, or soothing textures, you have the freedom to design soaps that reflect your individuality.
To ensure the longevity of your homemade soaps, remember to store them in a cool, dry place. This will help extend their shelf life and maintain their quality for your continued enjoyment or when gifting them to someone special.
FAQ
Can I make soap at home without using lye?
Yes, you can make soap at home using natural ingredients without the need for lye. With the melt and pour soap-making method, you can create your own homemade soaps using pre-made soap bases that have already undergone the saponification process. This method is safe, easy, and allows for creativity in adding natural colorants, essential oils, herbs, and flowers to customize your soaps.
What is the role of lye in soap making?
Lye, also known as sodium hydroxide, is traditionally used in soap making to saponify fats and oils, resulting in the formation of soap. However, lye can be caustic and dangerous to handle if not done properly. The melt and pour method eliminates the need for handling lye directly. While lye is still used to make the soap base, it is chemically converted during the saponification process, leaving no lye in the final product.
How does the melt and pour soap making method work?
The melt and pour soap making method involves melting pre-made soap bases, adding your desired ingredients such as essential oils, colorants, herbs, and flowers, and pouring the mixture into soap molds to harden. This method skips the step of handling lye, making it accessible to beginners and a safe activity to do with children. The soap bases used in melt and pour soap making have already undergone saponification, so no lye is needed.
What kind of soap base should I choose for melt and pour soap making?
When selecting a soap base for your melt and pour soaps, you have a variety of options to choose from, such as goat’s milk, shea butter, glycerin, and oatmeal bases. These bases provide moisturizing properties and a creamy lather. You can further customize your soaps by adding natural ingredients like dried herbs, flowers, essential oils, and exfoliants such as coffee grounds or oatmeal. Consider using organic and sustainably sourced ingredients for an eco-friendly and skin-friendly soap.
How can I create my own soap recipe using melt and pour bases?
Making your own soap recipe with melt and pour bases allows you to get creative and experiment with different combinations of ingredients. Start by cutting the soap base into small cubes and melting them in a microwave-safe glass measuring cup or a double boiler. Once melted, you can add your desired ingredients such as essential oils, natural colorants, and exfoliants. Stir well and pour the mixture into soap molds. Allow the soap to cool and harden before unmolding.
Can I add natural colorants and essential oils to my melt and pour soaps?
Absolutely! To add color to your melt and pour soaps, you can use natural colorants such as French green clay, turmeric, or madder root powder. These colorants should be diluted with rubbing alcohol before adding them to the soap base to prevent clumping. Essential oils can be used to add fragrance and therapeutic properties to your soaps. Choose high-quality essential oils and calculate the appropriate usage rate for your soap recipe to ensure a well-balanced scent.
How can I infuse herbs and flowers into the soap base?
Infusing herbs and flowers directly into the soap base can add a natural touch and extra skincare benefits to your melt and pour soaps. Some herbs and flowers that can be infused include lavender, chamomile, calendula, and plantain. To infuse, simply heat the soap base with the herbs or flowers, strain the mixture, and proceed with the soap making process. This technique is a great way to involve kids and explore the world of herbal soap making.
What are some tips and tricks for successful soap making?
To ensure successful soap making, it’s important to measure your ingredients accurately and stir them thoroughly to ensure proper mixing. Use a spray bottle filled with rubbing alcohol to eliminate air bubbles that may form while pouring the soap into molds. Allow your soaps to cool and harden completely before unmolding to prevent breakage. If you encounter any issues, such as soap sticking to molds or uneven color distribution, refer to troubleshooting guides or seek advice from experienced soap makers.
How can I enjoy my homemade soaps?
Once your homemade soaps have hardened and been unmolded, they are ready to use or gift to others. Homemade soaps make wonderful personal gifts, party favors, or additions to gift baskets. They can be customized to suit different skin types and preferences. Enjoy the benefits of using homemade soap, such as nourished and moisturized skin, natural fragrances, and the satisfaction of creating something with your own hands. Remember to store your soaps in a cool, dry place to extend their shelf life.