Sodium hydroxide, also known as lye or caustic soda, is a strong base that is commonly used in various industries. In this simple guide, I will provide step-by-step instructions on how to make sodium hydroxide safely at home. It is important to follow the instructions carefully and take necessary precautions when handling this caustic substance.
Making your own sodium hydroxide can be a cost-effective alternative to purchasing it commercially. Whether you need sodium hydroxide for household cleaning, soap-making, or other applications, this DIY method can help you produce it in a controlled environment.
Key Takeaways:
- Learn how to make sodium hydroxide safely at home with this simple guide.
- Ensure you have all the necessary materials and set up a clean work area before starting.
- Follow the step-by-step instructions to create the electrolysis setup and perform the electrolysis process.
- Separate the sodium hydroxide from the water through a boiling process.
- Take necessary safety precautions when handling sodium hydroxide and store it properly.
Materials and Setup
Before you begin making sodium hydroxide, it is important to gather all the necessary materials and set up a clean and safe work area. By following these steps, you can ensure a smooth and successful procedure.
Here is a list of the materials you will need:
- 4V9Ah lead acid batteries
- Glass cup with 1.24 cups of water
- 1 tablespoon of salt
- 2 black graphite pencils
- Piece of cardboard or stiff paper
- Toothpicks
- Rubber coated copper wire
- Tape
Once you have gathered all the necessary materials, it is time to set up your workspace. Here are a few guidelines:
- Work on a flat surface to ensure stability.
- Ensure your work area is clean and dry to minimize the risk of accidents.
Now that your materials are ready and your workspace is set up, you can proceed to the next steps in the sodium hydroxide production process.

Creating the Electrolysis Setup
In order to proceed with the sodium hydroxide electrolysis and establish the necessary production setup, you will need to follow these steps:
- Dissolve 1 tablespoon of salt in 1.24 cups of water in a glass cup. This will serve as the electrolyte solution for the electrolysis process.
- Carefully remove the top 0.59 inches of wood from 2 graphite pencils to expose the lead tips. The exposed lead will act as the electrodes for the electrolysis.
- Insert the exposed pencil lead through a piece of cardboard or stiff paper, creating a sturdy base for the electrodes.
- Place the cardboard over the glass cup with the electrolyte solution, ensuring that the lead tips are fully submerged in the solution. This will allow for the conduction of the electrolysis process.
- Securely attach the free end of each pencil lead to the battery terminals using copper wire. This will complete the circuit required for the electrolysis to take place.
Be cautious to avoid touching the exposed lead or the conducted wires while the battery is turned on, as this can lead to electric shock or other potential hazards.

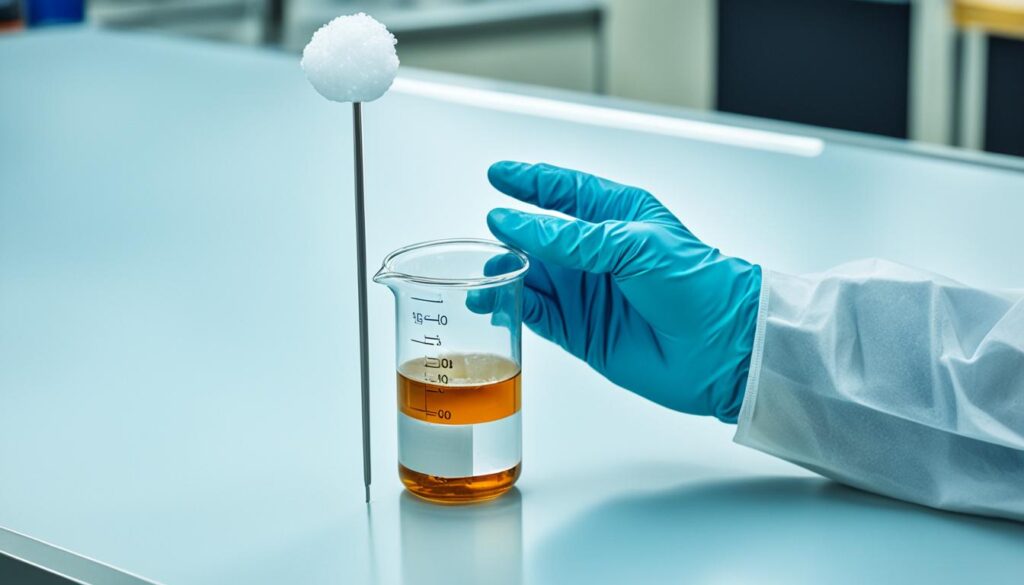
The provided image demonstrates the electrolysis setup, serving as a visual aid to assist you in recreating the setup accurately and safely.
Performing the Electrolysis
Once the setup is complete, it’s time to start the sodium hydroxide electrolysis process. Follow these steps to produce sodium hydroxide:
- Turn on the batteries and wait until no more bubbles form at the nodes. The positive wire will produce oxygen and chlorine, while the negative wire will produce hydrogen.
- As the bubbles grow and leave, sodium hydroxide is formed.
During this process, it is essential to ensure safety precautions are taken. Perform electrolysis in a well-ventilated area or with the use of a fan. Hydrogen and chlorine can be dangerous if not properly handled.
Cautionary Note:
Hydrogen and chlorine gases are produced during the electrolysis of sodium hydroxide. These gases, if not handled properly, can pose health and safety risks. It is crucial to conduct this process in a well-ventilated area or with the assistance of a fan to dissipate the gases.
By following these sodium hydroxide production steps and exercising caution, you can safely perform the electrolysis process to create sodium hydroxide at home.
Separating Sodium Hydroxide
After the electrolysis is complete, it’s time to separate the sodium hydroxide from the solution.
Carefully remove the wires from the battery nodes and disassemble the entire apparatus. It’s important to handle the equipment with caution to avoid any spills or accidents.
Next, you’ll need to boil the solution you created in a suitable container. It is recommended to use a stainless steel, platinum, or titanium evaporating dish for this step. Boiling the solution will aid in the separation of sodium hydroxide from the water.

It’s essential to note that this step should only be carried out in a professional laboratory setting. The process requires expertise and proper equipment to ensure safety and accurate results.
Once the solution has been boiled, you can carefully pour it into a suitable sodium hydroxide container rated for storage. Be sure to wear chemical gloves and take all necessary safety precautions while handling the solution.
Remember, sodium hydroxide is a highly caustic substance, so it’s crucial to handle it with care and follow proper safety guidelines throughout the separation process.
| Sodium Hydroxide Separation Steps: |
|---|
| 1. Remove wires from the battery nodes and disassemble the apparatus. |
| 2. Boil the solution in a stainless steel, platinum, or titanium evaporating dish. |
| 3. Pour the boiled solution into a suitable sodium hydroxide container. |
| 4. Handle the solution with chemical gloves and follow safety precautions. |
Safety Precautions and Storage
When working with sodium hydroxide, it is important to prioritize safety. Always wear safety goggles and gloves to protect against potential splatters or breakage of glassware. Sodium hydroxide can cause chemical burns and severe eye damage, so taking these precautions is crucial.
In the event of skin contact with sodium hydroxide, it is essential to act quickly. Rinse the affected area immediately with a large volume of water for at least 15 minutes. If available, you can also neutralize the sodium hydroxide with a weak acid, such as vinegar, before rinsing with water.
Proper storage of sodium hydroxide is equally important. It should be kept in a secure container that is labeled as “HIGHLY BASIC” and “HIGHLY CORROSIVE”. Store the container in a cool, dry, and well-ventilated area, away from incompatible materials and sources of moisture. Ensure that the storage area is inaccessible to children and unauthorized individuals.
During transportation, handle sodium hydroxide with extreme care to prevent spills or accidents. Use appropriate containers that are specifically designed for the safe transport of this hazardous substance. In case of any doubts or uncertainties, always consult a professional or seek guidance from regulatory agencies to ensure the proper handling and storage of sodium hydroxide.
FAQ
How can I make sodium hydroxide at home?
To make sodium hydroxide at home, you will need 4V9Ah lead acid batteries, water, salt, graphite pencils, cardboard or stiff paper, toothpicks, rubber coated copper wire, and tape. Follow the step-by-step instructions in this guide to safely create sodium hydroxide.
What materials do I need to make sodium hydroxide?
You will need 4V9Ah lead acid batteries, water, salt, graphite pencils, cardboard or stiff paper, toothpicks, rubber coated copper wire, and tape to make sodium hydroxide at home.
How do I create the electrolysis setup for sodium hydroxide production?
Dissolve 1 tablespoon of salt in 1.24 cups of water. Use graphite pencils with the lead tips exposed and insert them through a piece of cardboard or stiff paper. Place the cardboard over the water with the lead tips submerged. Attach the free ends of the pencil leads to the battery terminals using copper wire.
What is the process for performing the electrolysis to make sodium hydroxide?
Turn on the batteries and wait until no more bubbles form at the nodes. The positive wire will produce oxygen and chlorine, while the negative wire will produce hydrogen. As the bubbles leave, sodium hydroxide is formed through electrolysis.
How can I separate sodium hydroxide from the electrolysis solution?
After the electrolysis is complete, carefully remove the wires from the battery nodes and boil the solution in a suitable evaporating dish made of stainless steel, platinum, or titanium. This process should only be done in a professional laboratory setting.
What safety precautions should I take when working with sodium hydroxide?
It is important to wear safety goggles and gloves to protect yourself from potential splatters or glassware breakage. If sodium hydroxide comes into contact with your skin, rinse it immediately with a large volume of water or neutralize it with a weak acid before rinsing. Store sodium hydroxide in a secure container labeled as “HIGHLY BASIC” and “HIGHLY CORROSIVE” and transport and handle it with care.


