Mint extract is a versatile ingredient that adds a refreshing flavor to various dishes. Whether you want to enhance the taste of your baked goods, beverages, or desserts, making your own mint extract at home is a simple and rewarding process. In this step-by-step guide, I will show you how to make mint extract using fresh mint leaves and vodka, giving you full control over the quality and customization of your extract.
Key Takeaways:
- By making your own mint extract, you can ensure the quality and freshness of the ingredients used.
- Homemade mint extract is more affordable compared to store-bought versions.
- Experiment with different types of mint and adjust the ingredients to create unique flavors.
- Store your homemade mint extract in a cool, dark place for prolonged shelf life.
- Enjoy the benefits of using a homemade mint extract, such as avoiding unnecessary additives and preservatives.
Why Make Your Own Mint Extract?
There are several reasons why you should consider making your own mint extract.
- Control over Ingredients and Quality: Making homemade mint extract allows you to have full control over the ingredients used. You can choose to use fresh mint leaves from your own garden, ensuring their quality and freshness. By selecting high-quality ingredients and avoiding unnecessary additives or preservatives, you can create a mint extract that is truly pure and flavorful.
- Cost-Effectiveness: Another advantage of making your own mint extract is its cost-effectiveness. Store-bought extracts can be expensive, especially if you frequently use mint extract in your recipes. By making your own, you can save money in the long run while enjoying the benefits of a homemade product.
- Unique and Thoughtful Gift: Homemade mint extract can also make a unique and thoughtful gift for friends and family, especially those who enjoy baking. Presented in a beautifully labeled bottle, it becomes a personalized present that showcases your creativity and culinary skills.
By making your own mint extract, you not only have the satisfaction of creating something homemade but also reap the benefits of having a high-quality, cost-effective, and customizable ingredient for your culinary creations.

Ingredients for Homemade Mint Extract
To make your own mint extract, you will need the following ingredients:
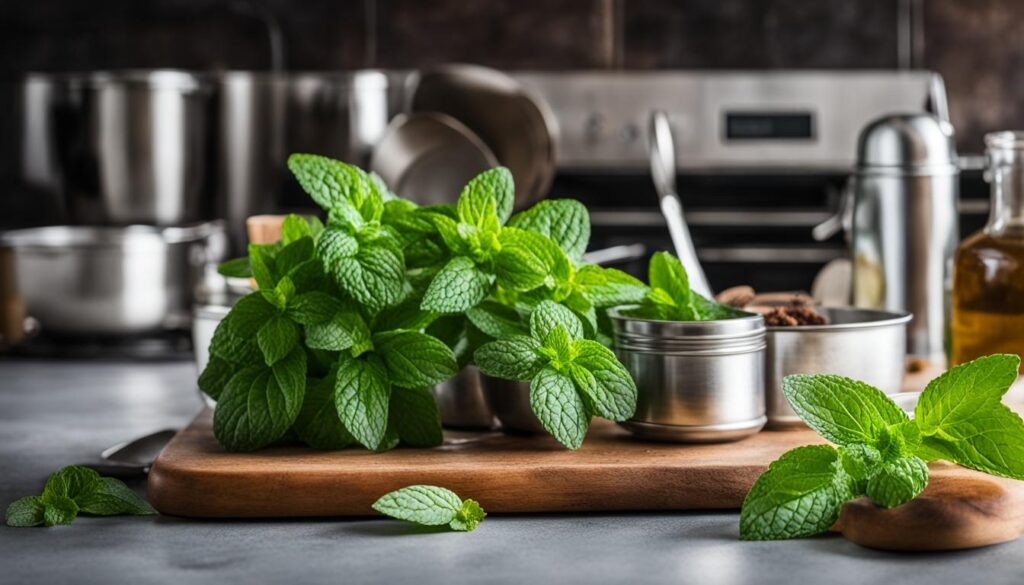
- 1 cup fresh mint leaves (varieties like peppermint or spearmint work well)
- 1 1/2 to 2 cups of vodka (any brand will do, but using a higher quality vodka may result in a better flavor)
These are the basic ingredients needed for a simple homemade mint extract. You can adjust the quantities based on your preferences and the desired strength of the extract.

Now that you have your fresh mint leaves and vodka ready, let’s move on to the next section to learn the step-by-step process of making mint extract at home.
Step-by-Step Instructions for Making Mint Extract
Follow these step-by-step instructions to make your own mint extract:
- Harvest the mint leaves and give them a quick rinse. Pat them dry.
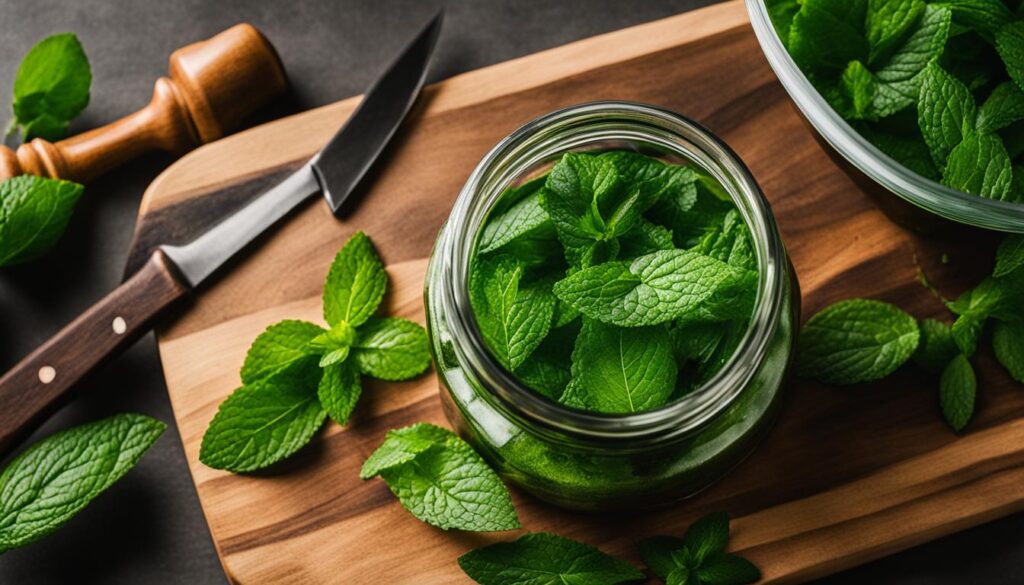
- Remove the leaves from the stems and discard the stems.
- Crush and smash the leaves in your hands to release the oils.
- Place the crushed leaves in a pint-sized glass jar.
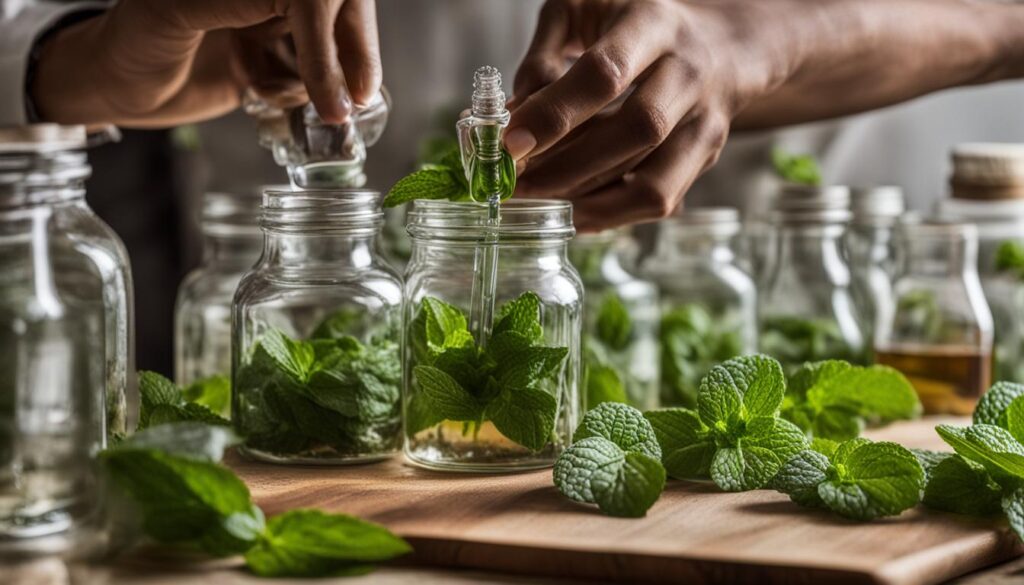
- Fill the jar the rest of the way with vodka, ensuring that the leaves are completely covered by the alcohol.
- Give the jar a shake and then set it aside in a cool, dark place.
- Allow the mixture to steep for one to two months, checking periodically to determine the strength of the extract.
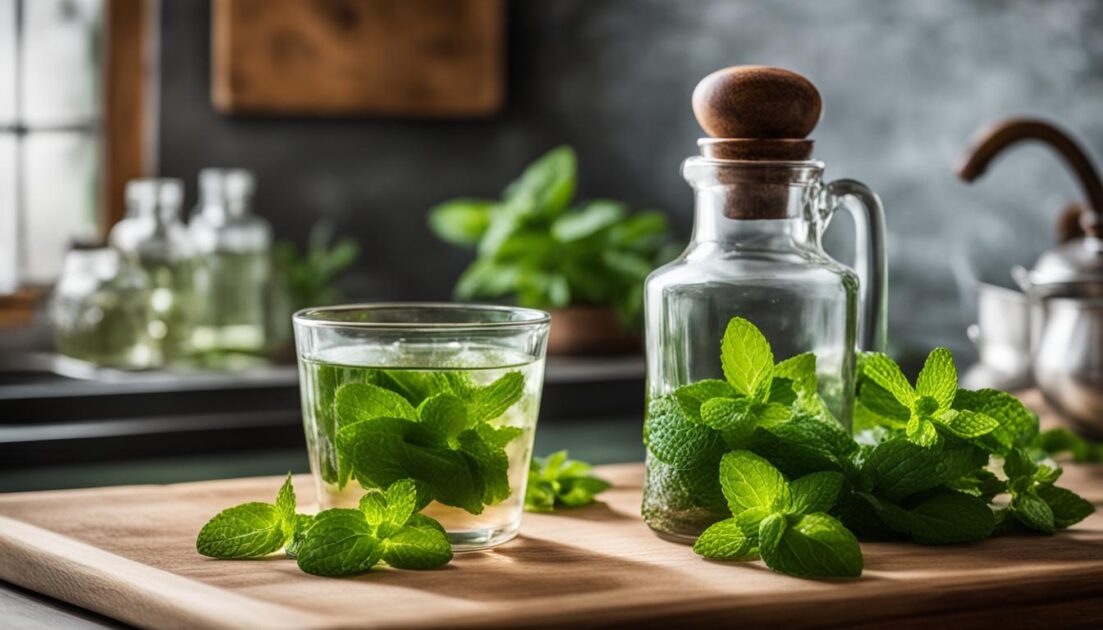
- Once the extract reaches your desired strength, strain out the leaves and transfer the extract to small jars for storage. Label the jars accordingly.

Tips and Variations for Homemade Mint Extract
When it comes to making your own mint extract, there are plenty of tips and variations to consider. These can help you create unique flavors and customize your mint extract according to your preferences. Here are some ideas to inspire you:
Experiment with different types of mint:
Try using different varieties of mint, such as chocolate mint or spearmint, to achieve distinct and interesting flavors in your extract. Each type of mint has its own unique characteristics, and experimenting with different varieties can add depth to your homemade extract.
Adjust the amount of ingredients:
Don’t be afraid to tweak the amount of mint leaves and vodka in your extract recipe. Depending on your desired strength and flavor intensity, you can increase or decrease the quantities. Remember, it’s all about finding the perfect balance that suits your taste buds.
Proper storage:
To prolong the shelf life of your homemade mint extract, be sure to store it in a cool, dark place. This will help maintain its freshness and flavor for longer periods. Consider using amber glass bottles to protect the extract from light exposure, which can affect its quality over time.
Alcohol-free alternative:
If you prefer an alcohol-free version of mint extract, you can substitute the vodka with vegetable glycerin. Vegetable glycerin is a natural and versatile ingredient that acts as a solvent, just like vodka, and can extract the flavors from the mint leaves. This option is great for those who are avoiding alcohol or prefer a milder flavor in their extracts.
Get creative with packaging:
If you plan on gifting your homemade mint extract, consider getting creative with the packaging and labeling. Use decorative bottles, tags, and ribbons to make your gift extra special. Personalize the labels with custom designs and instructions for use. Your thoughtfulness and attention to detail will make your gift truly memorable.
By following these tips and exploring various variations, you can take your homemade mint extract to the next level. Let your creativity and taste preferences guide you as you customize your mint extract, creating a unique and flavorful ingredient for all your culinary adventures.
Usage and Storage of Homemade Mint Extract
Homemade mint extract is a versatile ingredient that can be used in a variety of recipes, adding a refreshing minty flavor. Whether you’re baking cookies, making cakes, or creating delicious ice cream, a few drops of homemade mint extract can elevate your culinary creations to a whole new level.
When using mint extract in your recipes, start with a small quantity and adjust according to your taste preferences. Remember that mint extract is concentrated, so a little goes a long way. Gradually add more if you desire a stronger mint flavor.
Storing your homemade mint extract properly is essential for maintaining its quality and flavor. To preserve the freshness and potency, store the extract in a cool, dark place, such as a pantry or cupboard, away from direct sunlight and heat sources. The ideal temperature for storing mint extract is between 50°F and 70°F.
Properly stored, homemade mint extract can last indefinitely, retaining its flavor and aroma. However, it’s recommended to make a fresh batch of mint extract every year or so to ensure the best flavor. Over time, the extract’s intensity may diminish, and a new batch will provide a more vibrant mint taste.
Note: Make sure to label your homemade mint extract with the date of preparation to keep track of its shelf life.
Tips for Using Mint Extract:
- Add a few drops of mint extract to homemade chocolate chip or sugar cookies for a delightful minty twist.
- Enhance the flavor of your favorite cakes, cupcakes, or frostings by incorporating mint extract into the batter or frosting recipes.
- Create refreshing beverages like mint lemonade or mint mojitos by adding a splash of mint extract.
- Give your homemade ice cream or gelato a minty kick by mixing in some mint extract during the churning process.
Experimenting with mint extract in different recipes will allow you to discover new and exciting flavor combinations!
Storage of Homemade Mint Extract:
| Storage conditions | Shelf life |
|---|---|
| Cool, dark place (50°F – 70°F) | Indefinitely |
| Refrigerator | A few years |
| Freezer | Up to 5 years |
Pro Tip: To extend the shelf life of your homemade mint extract, store it in the refrigerator or freezer.
By properly storing your homemade mint extract and using it creatively in your recipes, you can enjoy the delightful flavors of mint throughout the year.
Benefits of Homemade Mint Extract
Using homemade mint extract offers several advantages that make it a preferred choice for many. Firstly, when you make your own mint extract, you have complete control over the ingredients used. This means you can avoid unnecessary additives and preservatives often found in store-bought extracts, ensuring a purer and healthier product.
Secondly, homemade mint extract provides a fresher and more intense mint flavor compared to commercial options. By using fresh mint leaves and infusing them in high-quality vodka, you can extract the maximum flavor and aroma from the mint.
Lastly, making your own mint extract can be a fun and rewarding DIY project. It allows you to customize the flavor to your liking and experiment with different variations of mint, such as peppermint or spearmint. The process of creating your own extract also gives you a sense of satisfaction and accomplishment.
By making your own mint extract, you can enjoy these benefits while elevating the taste of your culinary creations.
Conclusion
Making your own mint extract is a simple and enjoyable process that allows you to create a flavorful and versatile ingredient for your culinary creations. By following just a few steps and using the right ingredients, you can make a homemade mint extract that is free from additives and perfectly tailored to your taste preferences.
Homemade mint extract offers several advantages over store-bought versions. Not only can you control the quality of the ingredients, but you can also experiment with different varieties of mint to create unique flavors. Additionally, making your own mint extract is more cost-effective and allows you to avoid unnecessary additives and preservatives.
Start your mint extract adventure today and elevate your baking and cooking to a new level of freshness and flavor. Whether you’re adding a few drops to your favorite recipes or gifting it to friends and family, homemade mint extract is sure to impress. Enjoy the satisfaction of creating a culinary masterpiece with your own homemade mint extract!
FAQ
Why should I make my own mint extract?
Making your own mint extract allows you to control the ingredients and ensure the quality of the final product. It is also more cost-effective and can be a unique gift for friends and family.
What ingredients do I need to make homemade mint extract?
You will need 1 cup of fresh mint leaves and 1 1/2 to 2 cups of vodka.
How do I make mint extract at home?
Follow these steps: harvest the mint leaves, remove them from the stem, crush and smash the leaves, place them in a glass jar, fill the jar with vodka, shake, let it steep for one to two months, strain out the leaves, and transfer the extract to small jars for storage.
Are there any tips and variations for making mint extract?
Yes! You can experiment with different types of mint, adjust the amount of mint leaves and vodka, store the extract in a cool, dark place, and consider using vegetable glycerin instead of vodka for an alcohol-free version.
How can I use and store homemade mint extract?
Homemade mint extract can be used in various recipes and should be stored in a cool, dark place to maintain its quality. It can last indefinitely, but it’s best to make a fresh batch every year or so.
What are the benefits of homemade mint extract?
Homemade mint extract allows you to avoid additives and preservatives, provides a fresher and more intense mint flavor, and is a fun DIY project that lets you customize the flavor.


