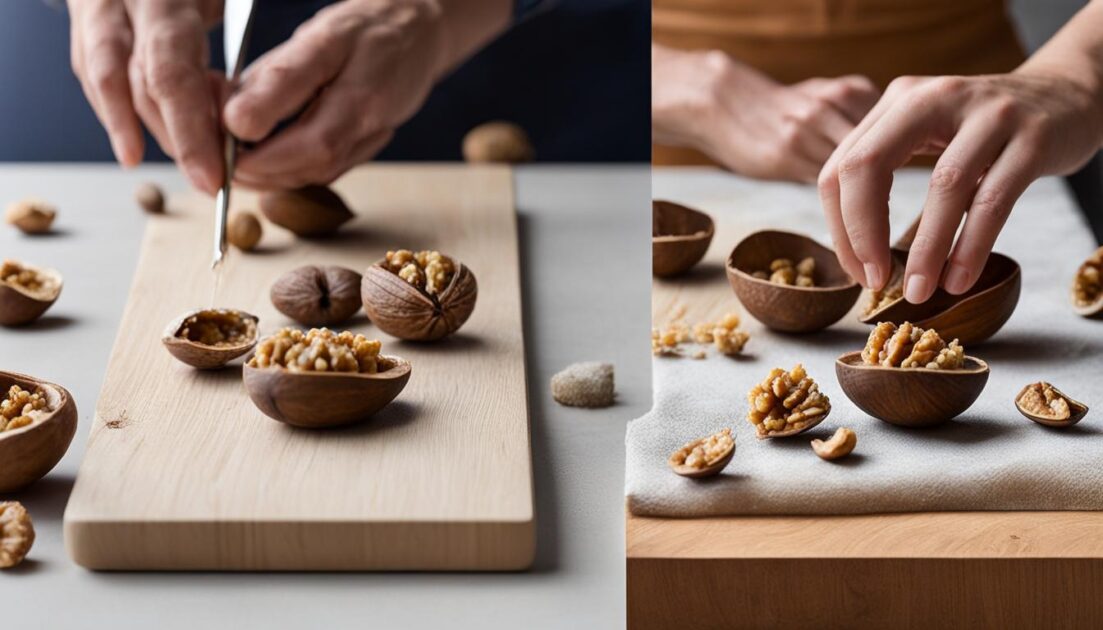
Making walnut shells for DIY projects and decorations is a fun and creative activity. This simple guide will provide step-by-step instructions on how to create stunning walnut shell art and crafts. With just a few materials and some creativity, you can turn walnut shells into unique and beautiful decorations for your home.
Key Takeaways:
- Create beautiful walnut shell crafts and decorations with this simple DIY guide.
- Use whole walnut shells, scrap paper, cotton thread, and a curved needle to make walnut shell notebooks.
- Follow step-by-step instructions to make walnut shell sail boats using walnut shell halves, fabric, and a homemade salt dough.
- Soak walnut shells for natural dyeing purposes and experiment with different techniques to achieve various shades.
- Have fun exploring the endless possibilities of walnut shell crafts and decorations.
Materials Needed for Making Walnut Shell Notebooks
Creating unique walnut shell notebooks is a delightful DIY project that combines natural elements with functionality. To get started, gather the following materials:
| Materials |
|---|
| Walnut shells (ideally whole walnuts) |
| Scrap paper |
| Medium weight cotton thread |
| Curved needle |
| Awl or push pin |
With these materials on hand, you’ll be ready to embark on your walnut shell notebook crafting adventure. Let’s dive into the step-by-step process in the next section.
Instructions for Making Walnut Shell Notebooks
If you’re looking for a unique and creative way to use walnut shells, why not try making walnut shell notebooks? These adorable little creations are perfect for jotting down notes, sketches, or even as decorative ornaments. Follow these simple instructions to create your own walnut shell notebooks:
- Start by drilling two small holes on opposite sides of the walnut shell. This will be used to bind the pages later on.
- Next, take a stack of scrap paper and fold it in half. Place one half of the walnut shell on top of the folded paper, ensuring that a portion of the folded edge remains intact.
- Using the shape of the walnut shell as a guide, carefully cut out the pages from the folded paper. These pages should be slightly smaller than the shell itself.
- Now, it’s time to bind the cover and pages together. Take a medium-weight cotton thread and start binding the cover, leaving enough space for the pages to sit comfortably inside the shell. Make sure to tie a secure knot at the end.
- On the folded edge of the paper, mark where the holes should be for binding. Use an awl or push pin to create two holes in the marked positions.
- Thread a curved needle with the same cotton thread used for binding. Start by inserting the needle through one of the holes in the paper, then through the corresponding hole in the walnut shell cover. Repeat this process for the second hole, ensuring that the thread pulls the pages snugly against the cover.
- For added stability, apply a small amount of glue to the first and last page of the inside papers, attaching them to the walnut shell itself. This will prevent the pages from slipping out and keep the notebook intact.
Your walnut shell notebook is now ready to be used! Fill it with your thoughts, ideas, or even small sketches. These charming little creations can also be used as decorative ornaments, adding a touch of whimsy to any space.
Materials Needed for Making Walnut Shell Sail Boats
Creating walnut shell sail boats is a delightful craft project that combines natural materials with creativity. To bring your walnut shell sail boats to life, gather the following materials:
- Walnut shell halves
- Thin sticks or toothpicks
- Small pieces of fabric
- Homemade salt dough, air dry clay, or modeling beeswax
- Fabric glue or school glue
These materials will serve as the foundation for your walnut shell sail boats, helping you express your imagination and craft unique decorative pieces.
Once you have gathered all the necessary materials, you can proceed to the next section to learn how to transform them into charming walnut shell sail boats.
| Materials | |
|---|---|
 |
|
Instructions for Making Walnut Shell Sail Boats
Looking for a fun and creative DIY project using walnut shells? Why not try making walnut shell sail boats? This delightful craft activity is perfect for both kids and adults and can be enjoyed by the whole family. Follow these simple steps to create your own walnut shell sail boats.
- Open the walnuts and remove the shells.
- Cut triangular shapes out of fabric for the sails and glue them to the sticks.
- Add a small ball of salt dough, air dry clay, or modeling beeswax inside each shell to hold up the sail.
- Place the boats in water and experiment with movement to see if they sink or float.
To begin, carefully crack open the walnuts and remove the shells. Be gentle to ensure the shells remain intact.
Next, cut triangular shapes out of colorful fabric to create the sails for your boats. Use glue to attach the fabric sails to small sticks or toothpicks. Get creative and experiment with different patterns and colors to make each sail unique.
To make the sails stand upright, place a small ball of salt dough, air dry clay, or modeling beeswax inside each walnut shell. This will provide stability and allow the sails to catch the wind.
Once your walnut shell sail boats are complete, it’s time for a test run! Find a pool, a bathtub, or any body of water and place the boats gently on the surface. Observe as they float and move with the help of the wind or water currents. Enjoy the excitement of watching your creations sail.
Walnut shell sail boats are not only enjoyable to make, but they also make charming decorations for your home or can be used as imaginative play toys. Get ready to set sail on a creative adventure with this DIY walnut shell craft!
“Creating walnut shell sail boats is a wonderful way to combine natural materials with creativity. The process engages both children and adults, and the final result is always magical.” – Amy Thompson, Craft Enthusiast

Soaking and Dyeing Walnut Shells for Natural Dyeing
Soaking and dyeing walnut shells can be a rewarding activity for those interested in natural dyeing. By harnessing the rich color properties of walnut shells, you can create beautiful and unique shades to enhance your crafts and decorations.
To begin the process, it is important to soak the walnut shells to release their dye. Simply gather a collection of walnut shells and submerge them in water for about a month. During this time, the shells will naturally release their color, creating a potent dye.
Once the walnut shells have soaked sufficiently, you can use the resulting dye to color materials such as wool yarn. Walnut shells contain tannin, which acts as a natural mordant, allowing the dye to bind effectively to the fibers and create long-lasting color.
To further intensify the color, you can try boiling the walnut shells with the dye. This technique helps extract more pigment from the shells and enhances the richness of the resulting dye.
Experimenting with walnut shell dyeing can lead to stunning results. By exploring different techniques and combinations, you can achieve a range of shades and effects to suit your walnut shell crafts and decorations. Whether you’re dipping fabric, dyeing paper, or creating unique artworks, walnut shell dyeing offers a natural and eco-friendly way to add color to your projects.

Get inspired by the organic beauty of walnut shell dyeing and infuse your creations with natural hues that reflect the wonder of nature.
Experimenting with Walnut Shell Dyeing
When it comes to walnut shell crafts, one exciting technique to explore is dyeing. By experimenting with different methods, you can achieve varied and stunning results for your walnut shell decorations and projects.
One approach is to boil the walnut shells with the dye, which will intensify the color and create a darker shade. This technique is perfect for achieving rich and deep tones in your walnut shell crafts. For an even stronger color, consider adding iron after dyeing. This extra step can enhance the depth and vibrancy of the final hue, allowing your walnut shell creations to truly stand out.
While experimenting, it’s important to follow the dyeing instructions carefully. Additionally, it’s crucial to avoid sealing the soaked walnut shells in airtight containers, as this can lead to fermentation. Storing the shells in a well-ventilated environment will prevent any unwanted reactions and maintain the quality of your walnut shell projects over time.
FAQ
Can I make walnut shells for DIY projects and decorations?
Yes, making walnut shells for DIY projects and decorations is a fun and creative activity.
What materials do I need for making walnut shell notebooks?
To make walnut shell notebooks, you will need walnut shells, scrap paper, medium weight cotton thread, a curved needle, and an awl or push pin.
How do I make walnut shell notebooks?
Follow these steps to make walnut shell notebooks:
1. Drill two holes on opposite sides of the walnut shell.
2. Fold a stack of scrap paper in half and place one half of the walnut shell on top.
3. Cut out the pages according to the shape of the walnut shell.
4. Use cotton thread to bind the cover together.
5. Mark where the holes should be on the folded edge of the paper and create two holes using an awl or push pin.
6. Thread the needle through the holes in the paper and the walnut shell cover.
7. Glue the first and last page of the inside papers to the shell for stability.
What materials do I need for making walnut shell sail boats?
To make walnut shell sail boats, you will need walnut shell halves, thin sticks or toothpicks, small pieces of fabric, and homemade salt dough, air dry clay, or modeling beeswax.
How do I make walnut shell sail boats?
Follow these steps to make walnut shell sail boats:
1. Open the walnuts and remove the shells.
2. Cut triangular shapes out of fabric for the sails and glue them to the sticks.
3. Add a small ball of salt dough, air dry clay, or modeling beeswax inside each shell to hold up the sail.
4. Place the boats in water and experiment with movement to see if they sink or float.
How can I soak and dye walnut shells for natural dyeing?
Soaking walnut shells for a month can release their color, which can then be used to dye materials like wool yarn. Boiling the shells with the dye can intensify the color, and the tannin in walnut shells acts as a natural mordant.
Are there any tips for experimenting with walnut shell dyeing?
Yes, boiling the shells with the dye can produce a darker color, and adding iron after dyeing can make the color even stronger. It’s important to follow the instructions carefully and avoid sealing the soaked shells in air-tight containers to prevent fermentation.


